Preparing the Hood
Applying an Eyelet in your Hood
Would you like to apply an eyelet and drawstring in your hood? If so, follow the information below.
The center of the eyelet should be placed 1 ⅝” away from the bottom edge of the hood and 1 ⅛” away from the edge of the hood opening. Both distances are from the cut edge. Follow the videos in the Resource Library.
Hood Preparation


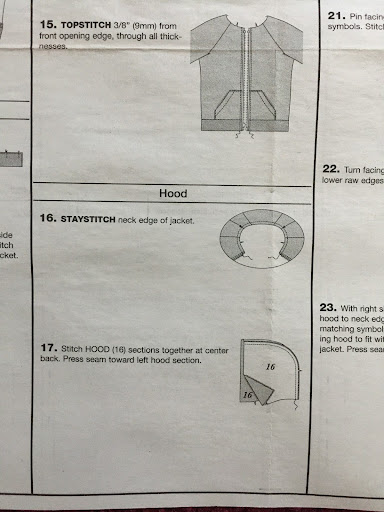
- With right sides together, stitch hood pieces together down the center, ⅝”, grade seam allowances (trim left seam allowance in half) and press toward the left
- From the right side of the fabric top stitch (¼” from seam) catching the seam allowances. Use triple straight stitch or regular 2.5-3 length
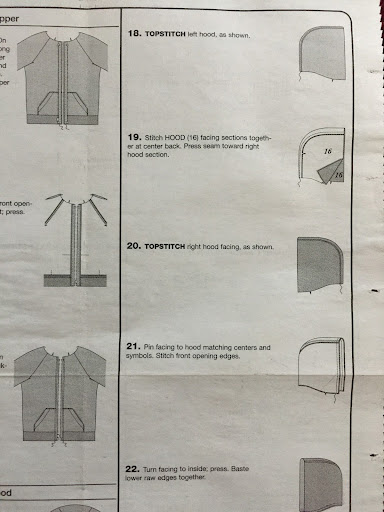
- With right sides together, stitch hood lining pieces together down the center, ⅝”, grade seam allowances (trim right seam allowance in half) and press toward the right
- From the right side of the fabric top stitch (¼” from seam) catching the seam allowances. Use triple straight stitch or regular 2.5-3 length

5. With right sides together, stitch the hood and hood lining together around the front opening with ⅝” seam allowance. Straight stitch is fine. Grade seams. Understitch the hood lining.
6. Turn the hood right side out. Press. Baste lower edge together, ½” seam allowance.
